For JPEG or WebP, try Quality 80, inspect the output and lower it only if needed. PNG uses lossless compression and ignores the quality slider; an already optimized file may not shrink. Use the original image, keep a master copy and judge visible quality instead of chasing the smallest possible number.
Compress an image online
Choose a JPEG/WebP quality setting, or optimize a PNG losslessly, then compare the downloaded byte count.
What image compression removes
Lossy image compression represents visual detail with less data. Moderate settings can reduce size substantially while differences remain hard to notice at normal viewing size. Strong settings can create block edges, ringing around text and banding in smooth skies or shadows.
Photographs often tolerate more compression than screenshots, logos and graphics with sharp text. The right quality value therefore depends on content and how large the image will appear.
Pixel dimensions and compression quality are separate. A 5000-pixel photograph displayed at 1000 pixels may benefit more from resizing first than from pushing quality extremely low.
How to compress an image with Mediaivo
- Start with the best original
Avoid compressing a social-media download or previous delivery copy when the original is available.
- Check the format, then try Quality 80
The 45–95 setting is an encoder control, not a percentage of preserved visual quality. PNG ignores it. Other supported image inputs are exported as JPEG; this tool handles the first frame only.
- Download and compare
Inspect faces, text, fine edges, shadows and colour gradients at the intended display size.
- Adjust only if needed
Lower quality in small steps when the file remains too large, or increase it when artifacts are visible.
Choose image quality by content
Use a higher setting when the image contains details that compression can damage visibly.
| Situation | Recommended choice | Check before publishing |
|---|---|---|
| Photograph for a website | 75–85% as a starting range | Inspect hair, foliage, shadows and gradients. |
| Product image or portfolio detail | 80–90% | Zoom to the actual product display size and check texture. |
| Screenshot, diagram or text-heavy graphic | Use a higher setting or a lossless format | Check lettering and thin lines for halos or blur. |
How to compare compressed image quality
Compare at 100% zoom and at the real display size. The first reveals artifacts; the second tells you whether they matter to the audience. A tiny difference visible only at extreme zoom may be acceptable for a fast-loading page.
Measure the useful outcome: the file meets the upload or performance target, the subject remains clear and important text is readable.
Common mistakes to avoid
1. Compressing an already compressed copy
Each lossy generation can add more ringing, softness and blocks.
2. Using one quality setting for every image
A portrait, screenshot and product texture do not tolerate compression in the same way.
3. Ignoring dimensions
An image far larger than its display area wastes bytes even after compression.
4. Deleting the original
Keep a high-quality master for future crops, sizes and formats.
Final check before downloading or publishing
- Important text remains readable.
- Faces and product details look natural.
- Gradients do not show distracting bands.
- The file meets the destination size target.
- The original master remains available.
Frequently asked questions
What image quality percentage should I use?
For JPEG/WebP, try Quality 80 and inspect fine detail. PNG uses lossless compression instead and does not use the slider. Neither setting guarantees a smaller result.
Does compression change image dimensions?
Quality compression and resizing are different. Use Resize Image when width and height also need to change.
Why does text look blurry after compression?
Sharp edges and thin lettering reveal lossy artifacts quickly. Use a higher quality setting or a more suitable lossless format.
Can compression be reversed?
Lost detail cannot be recovered from the compressed copy. Keep the original image.
Make the file smaller without guessing
Start at a sensible quality, compare the result and stop when the destination requirement is met.
A media-processing example you can repeat
Checked September 9, 2026 using Mediaivo's processing functions and ffmpeg version 6.1.1-3ubuntu5 Copyright (c) 2000-2023 the FFmpeg developers. The source is an original synthetic test chart, with no personal data or third-party footage. This example is a still JPEG image.
Settings: Quality: 80
Download input · Download reference output · Measurements and method
Run this example in the tool →
| Measurement | Input | Output |
|---|---|---|
| Bytes | 66230 | 33890 |
| Pixels | 1280 × 720 | 1280 × 720 |
| Video/image codec | mjpeg | mjpeg |
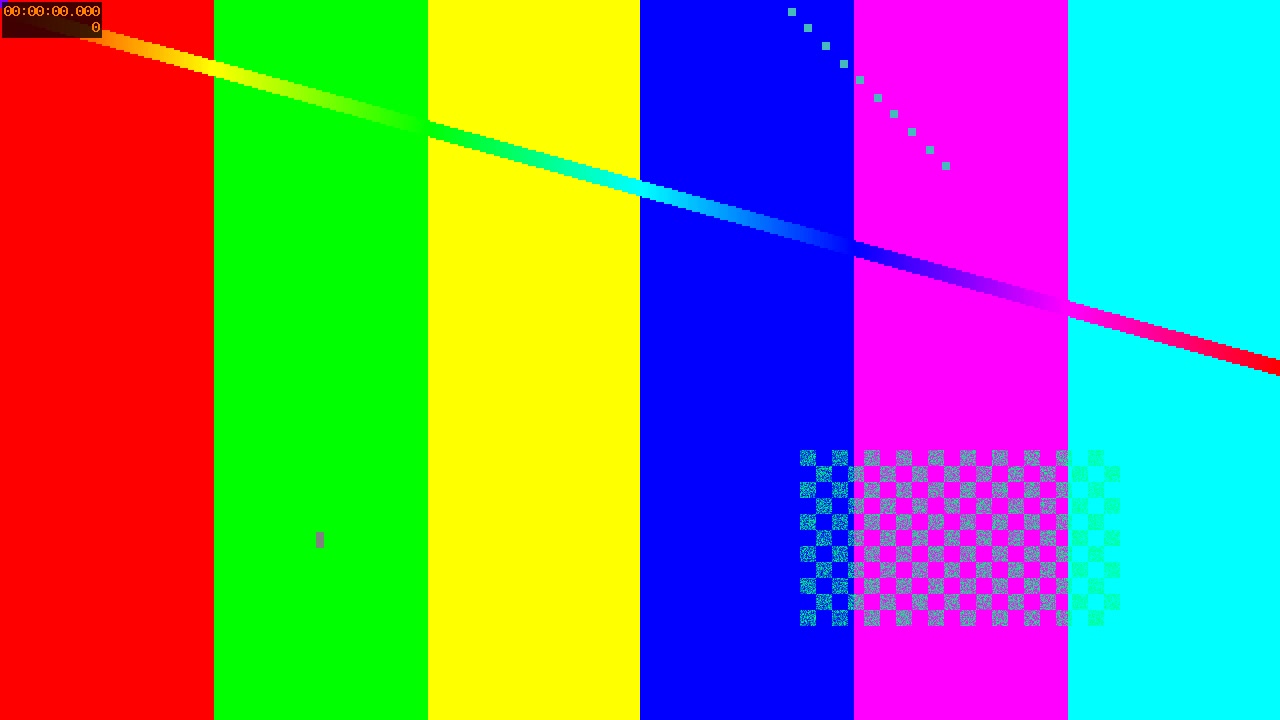
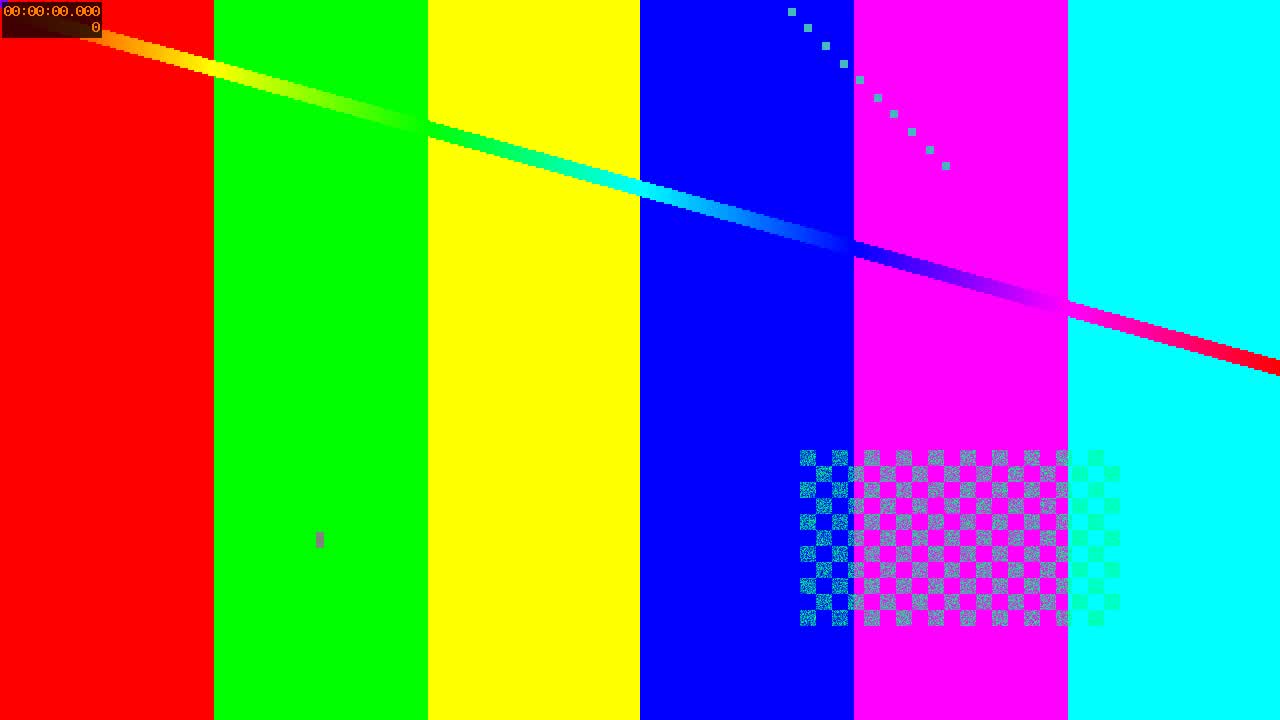
The JPEG keeps its pixel dimensions. Inspect fine lines and color boundaries at full zoom; quality is an encoder setting, not a promise of 80% visual fidelity.